**This will stop your cassette player working so don't proceed if you use cassettes still**
To do this you will need:
YOUR RADIO CODE!!!!
Cross point screwdriver
Soldering iron and some solder
Pair of scissors
Small knife
3.5mm iPod cable
Ferrite Coil (not essential but might be handy)
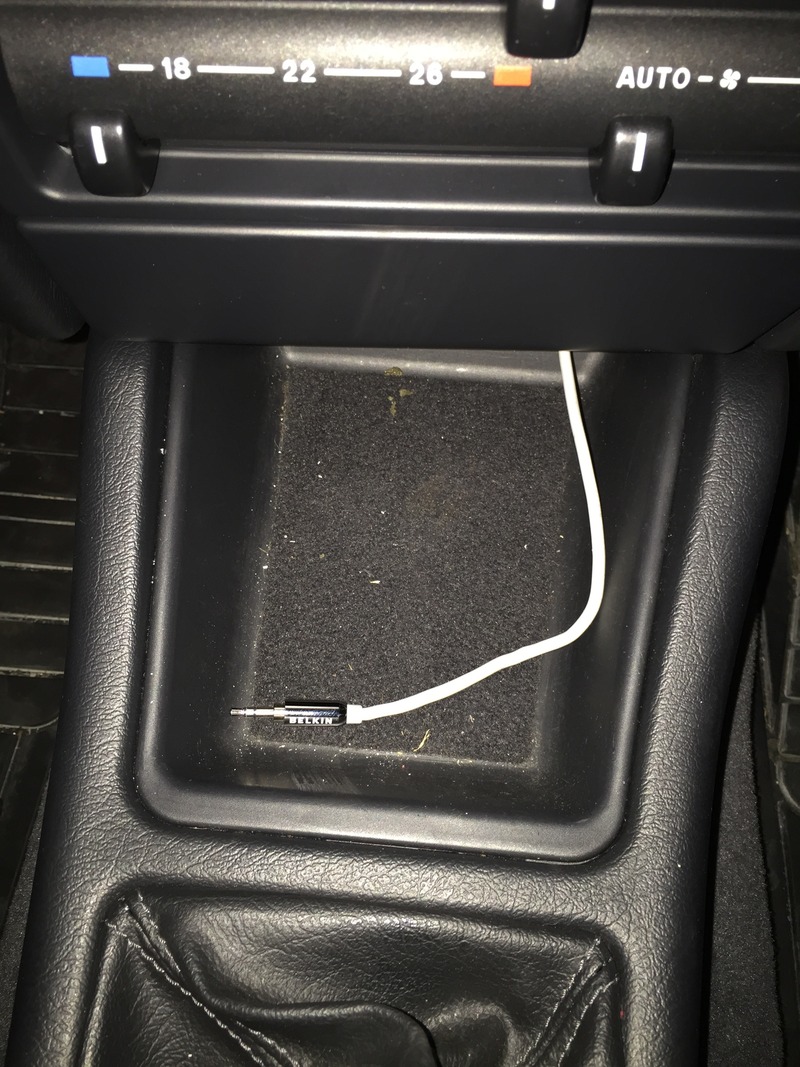
Here's the 3.5mm cable I used on all of mine as it's a good quality shielded cable, they're available on eBay for around £8 I think it is.
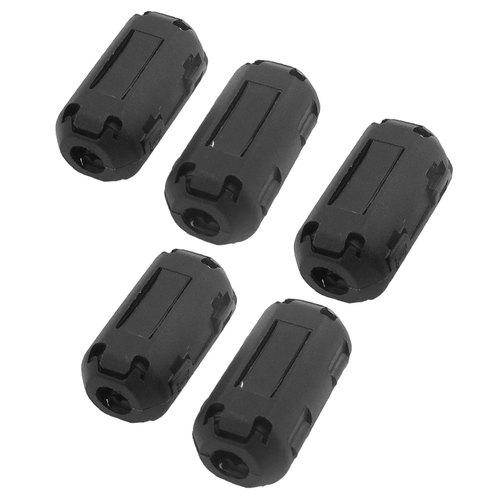
Here's the ferrite coils I ordered from eBay, you can occasionally get a little interference if you don't use one of these, these work out at about £1 each in a packet of 5:
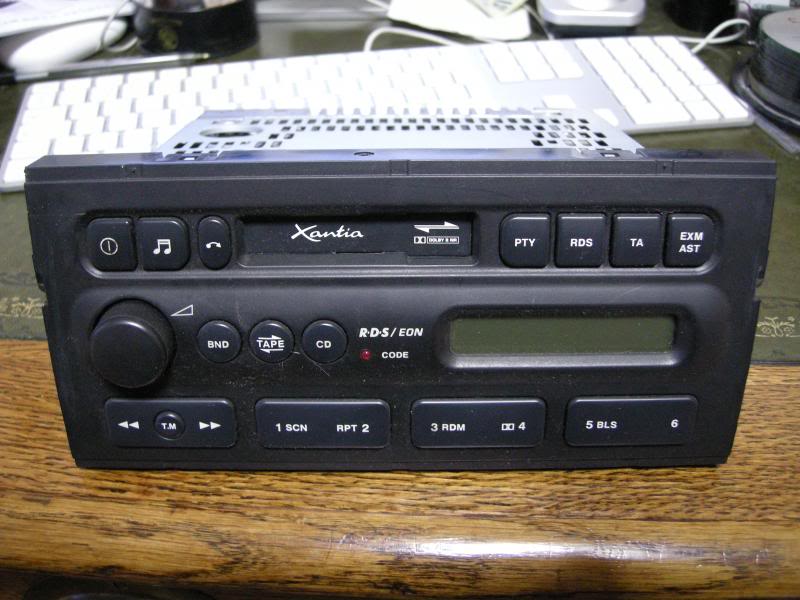
Take your Xantia Radio... Obvious but vital!
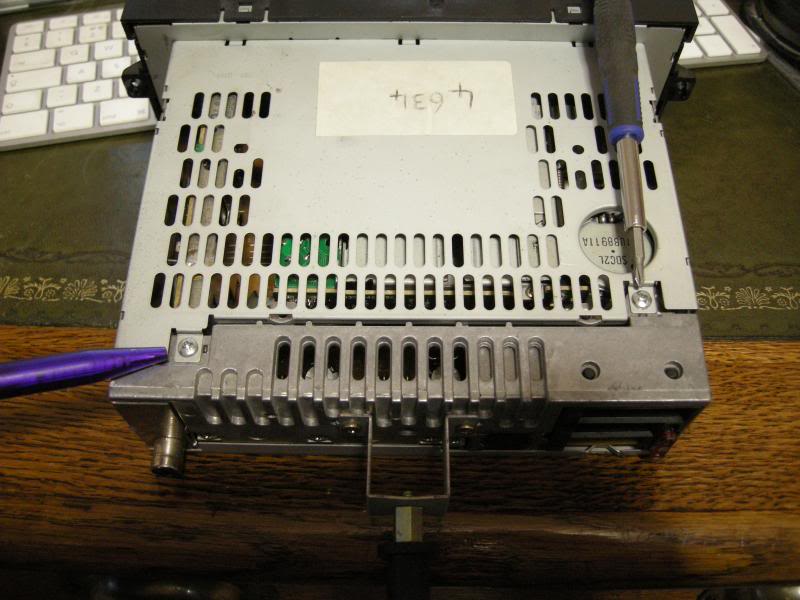
Remove the two screws indicated by the screwdriver and the pen then remove the lid from the radio.
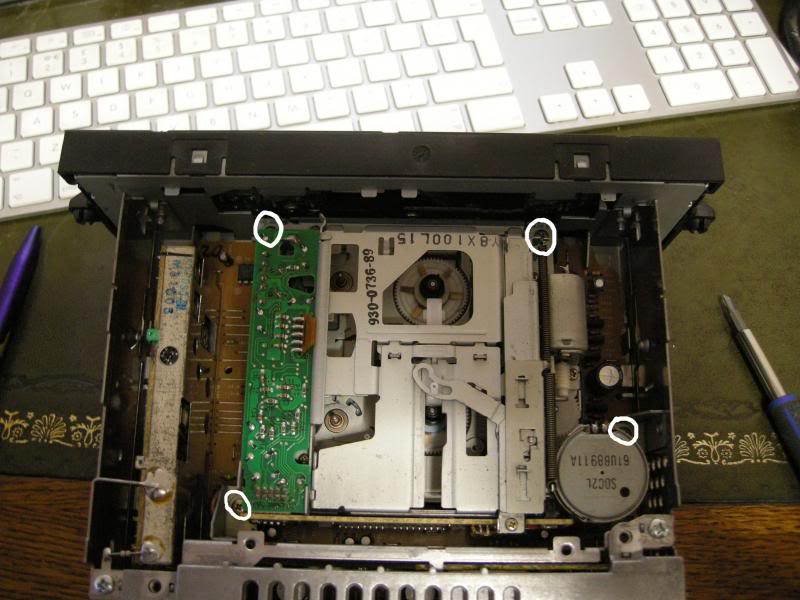
You will now see the insides of your radio and the tape drive unit. Remove the 4 screws circled in white and lift the cassette mechanism straight upwards as it's mounted to a socket on the main board of the radio.
Looking at the back of the unit where the PCB is you will see this:
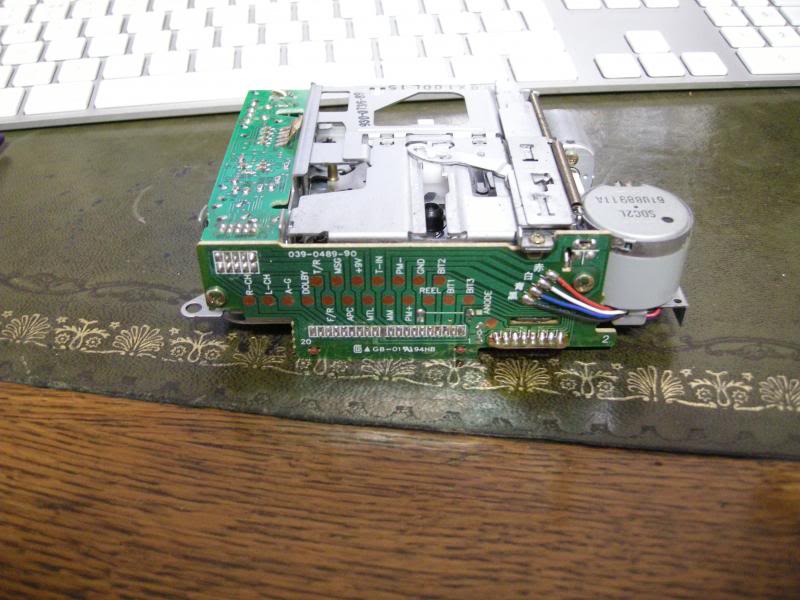
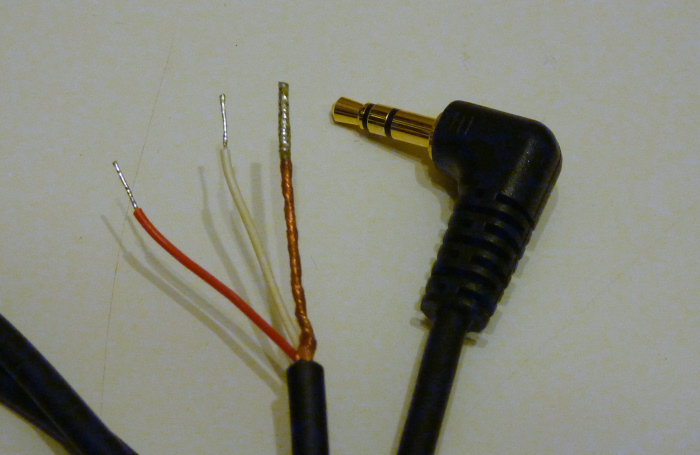
Now, take your 3.5mm cable, on mine I cut it behind the lump with Belkin written on it, where it splits into two. If you hold the cable beside the board shown in the next picture you can work out what you need length wise. I would start with the cable at the ground as the ground isn't insulated so you don't want to much of it flying around inside your radio, then measure up to the right and left channels, you will need enough of the cable stripped to allow you to get the inner cores to the top of the golden contacts. You will need to bare the wires on the ends of it now. Use the knife and gently cut away the outer of the cable being careful not to mark the inner core or the shielding. Once you have bared the wires it is a good idea just to tin them with solder as it ensures a better connection once on the board.
(Picture borrowed from Google Images)
Once you have bared and tinned the wires you will then need to look at the PCB on the back of the tape mechanism again:
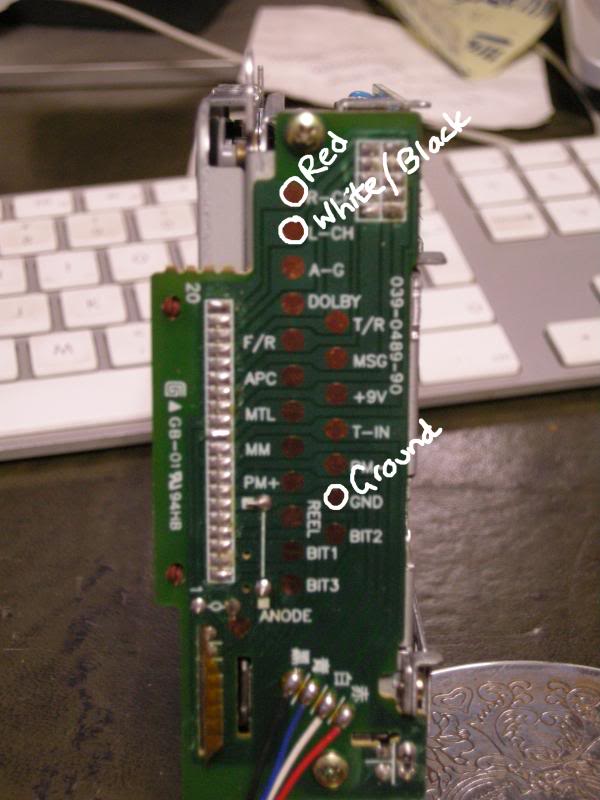
The colours/channels are as below:
Red core = Right channel
White core = Left channel (white is sometimes replaced on 3.5mm cables with a black core)
Copper core = Ground
Solder the wires you've just tinned onto the corresponding contacts on the board, and that's you sorted out the input side of it. There's two more steps left to make sure that you don't get any interference.
On the top of the tape mechanism at the front beside where the tape goes in there is a big lump of solder, melt this using your soldering iron and at the same time with your other hand, slide the board backwards (away from the PCB you've just soldered your cable to!) this is disconnecting the PCB that takes the input from the heads on the cassette deck.
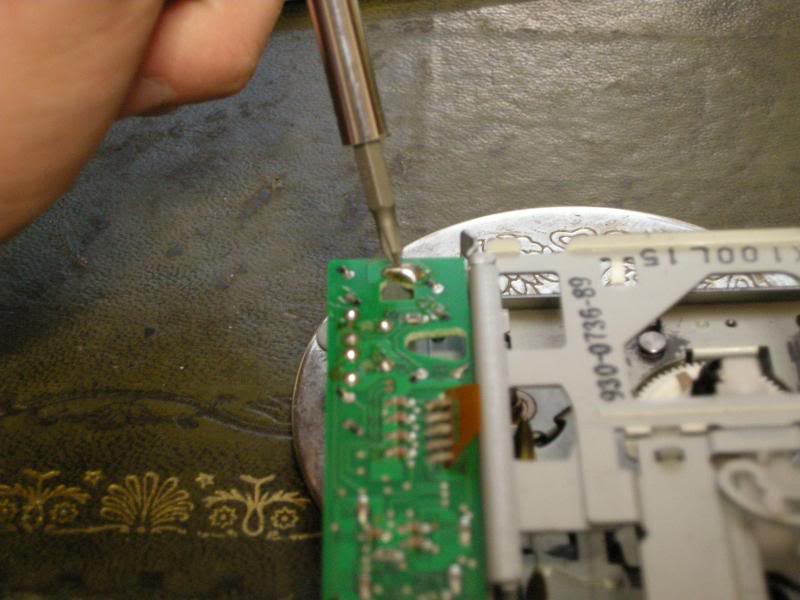
The final step with the soldering iron is to melt the solder on the ribbon cable coming onto the board where the screwdriver is pointing. There's 5 blobs of it. Once you've melted all 5 you can pull that little PCB up and the ribbon cable will be left attached to the cassette mechanism.

Now, carefully put the cassette mechanism back into the radio, you need to line it up carefully as you don't want to bend the pins on the socket going onto the main board in the radio. Now put the 4 screws back in to hold this down. There are a couple of different ways to route the cable out of the radio unit so choose which ever one suits you best, you could even cut a notch out of the radio frame to give you better access if you wish.
Once you've done this put the lid back on the radio and refit the two screws - Job Done!
To use your new aux input you need to switch the radio onto the tape input. Unfortunately there's no easy way to confuse the radio into thinking there's a tape in there. If you solder the switch shut it thinks the tape is jammed and ejects it as there's an optical sensor which watches the wheels on a cassette spinning so there's no other way around this then to have a cassette inserted into the radio.
If you get a cassette tape and remove the 5 screws from it as pictured below and open it up.
(Picture taken from Google images)
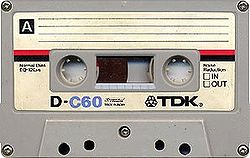
Now that it's open if you take the two reels out and remove all of the magnetic tape from them, once you've done this, put the reels back into the cassette where they were, put the cover back on the tape and put the 5 screws back into the tape.
If you refit the radio to the car now, and route the new cable to where you want it, once you've decided where you're going to put it, snap one of the ferrite coils around it where it won't get in the way, you don't need to use one of these but it's a good idea to reduce the change of interference. I put mine into the little storage box where the code pad used to live on the Series 1 Xantia. Turn the radio on and enter the code, insert your new cassette tape and plug the 3.5mm plug into your iPod you should have crystal clear music from your iPod coming through the car speakers. It works great, I use my iPhone with TomTom on it, it fades the music out and plays the navigation instructions through the cars speakers.
If anyone doesn't feel comfortable doing this themselves I'm happy to do it for them if they will send me the radio. Obviously I need to charge for the parts and return postage. A few beer tokens are always welcome though
David.

