http://www.axoc.co.uk/phpBB3/viewtopic. ... 35#p645935
Hi, I am writing this guide to AX MK1 who has the midconsole roofclock.
Repair time 20-30mins
I have made a repair guide to fix it.
Last week my roofclock is resetting randomly so I decided to repair it.
In my AX 10E there is a blanking plate so I removed the plate and installed a BX clock
AX GT/BX will give yellow backlight ZX clock will give green colour which is modable to all colours.
What do you need for this repair:
- flathead screwdriver for ZX clock
- trim removal tool or just a screwdriver for prying out BX/ZX clock
- torx T5-10-15 (BX only)
- Philips screwdriver (ZX)
- Mini Philips '' (AX/BX clock)
- T5 LED lamp at your choice [for the lifespan of the solder so less heat]
- white baking foil for changing the colour
- Soldering iron/ soldering station - I prefer soldering station because, of the exact temprature that is controlled.
- Griffon S39 Liquid Water Soluble Solder Flux
- Solder 60/40 or 40/60
- Electronic cleaner
- heat shrink
For a conversion non clock cars [Extra]:
- clock[of course]
- 6.3mm plug male and females 6x
- T split plug 2x (one needs to be cut smaller to fit the earth)
- wire cutter
- Audio core 0.75mm2 or thicker
- plug 3 pin or 4pin from a Citroen/Peugeot 1980-1998
AX:
Remove the negative terminal on the battery and remove the interior light by pulling it down carefully.
Remove the two screws behind it.
Push the sunvisor out of the holder
Remove the holder towards the windscreen
Remove the wiring
AX pictures of the screws and holder:


BX is very easy just remove the tray holding by two torx screws and remove the clock:

ZX also very simple just pull the trim back with a hook/screwdriver :
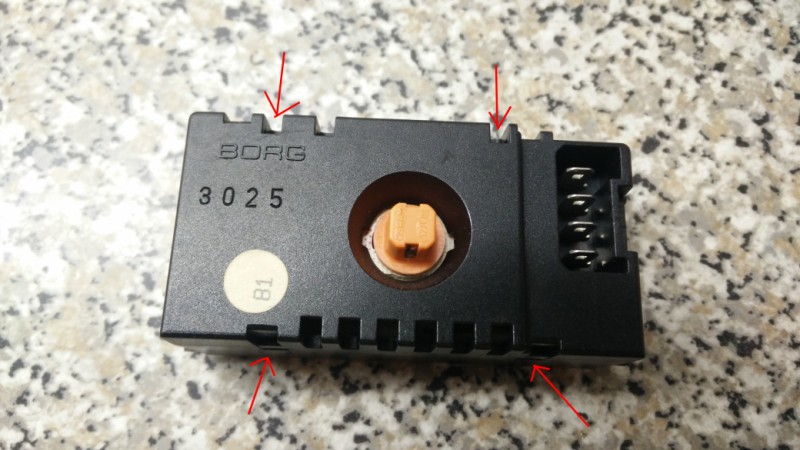
Clock itself is hold by two tabs just insert a screwdriver between left and right and its loose.
On this picture I have made my own wiring for the clock you can leave pin 4 out if you have a LED/SMD in the clock:
I have soldered pin 1 and 3 together and 2 and (4).

Clock removed:

ZX clock backside:

AX/BX clock you need a mini philips screwdriver to open it. Ignore the pinout.:

Pinout clock:
1. 12V+ Permanent
2. 12V-
3. 12V+ illumination
4. 12V- ill. dimmer

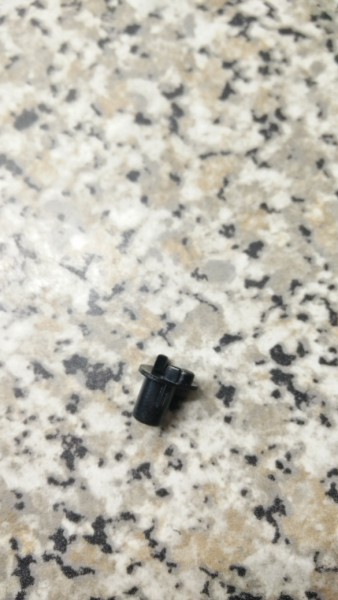
Turn the bulb 90" to remove it :

[ZX clock] Insert a screwdriver between the tabs and open it
tabs seen of the side:
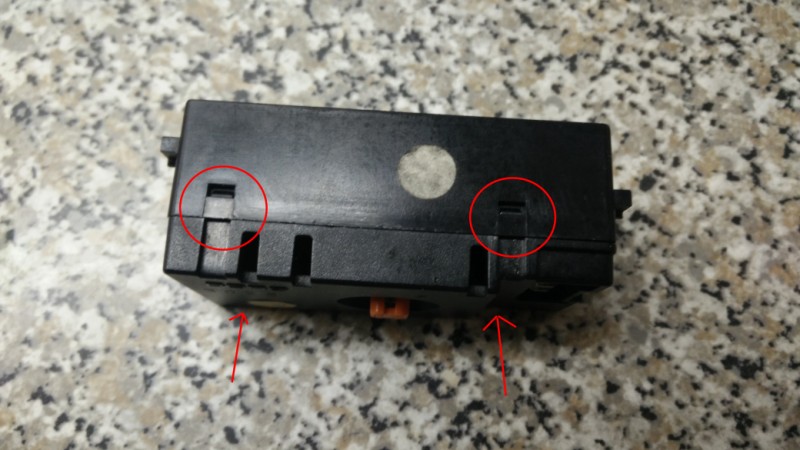

AX/BX/ZX when you have opened it pull these tabs to the side to lift it up :

This needs to be resoldered:

A comparison after resolder and before:

Removing the display:

Colour diffuse foils:

Adjustment buttons how to put them back:


LCD display and markings for reinstalling adjustment buttons.
WARNING The LCD display contact rubber must be aligned on this side with one notch or it won't fit:

The diffuse foil behind the clock.
1. A4 paper
2. Baking foil
3. Colour foil
If you remove no.3 and reinstall a piece of baking foil cut to this size it will be any colour depending on bulb

I am going to use yellow so reinserted my yellow foil:

reinstalling:

Pins that are unused maybe to remove AM/PM:

First reinstall the lampholder and then the PCB see 1 and 2 on the picture:

Reinstalled:

Push the lid carefully back until it clicks:

reinstalled:

Exchanging lamps I recommend using conical T5 lamp so the light distribution is even:

Everything is complete juist click it the clock plug the plug back and enjoy:

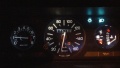
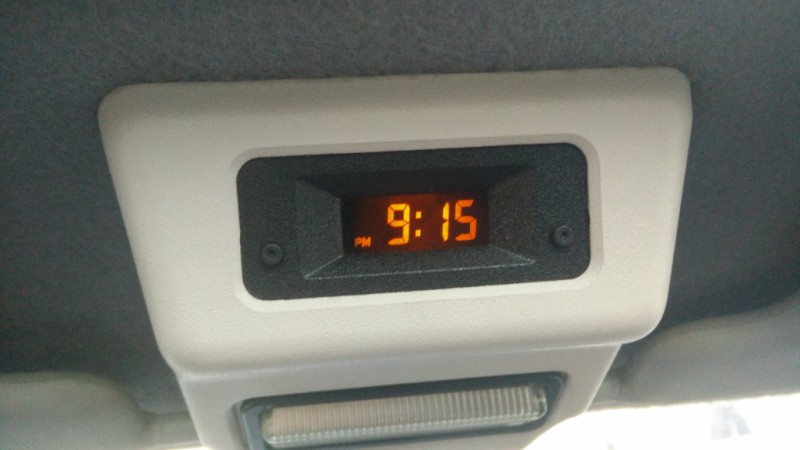
Clock in my MK2 GTI-5:
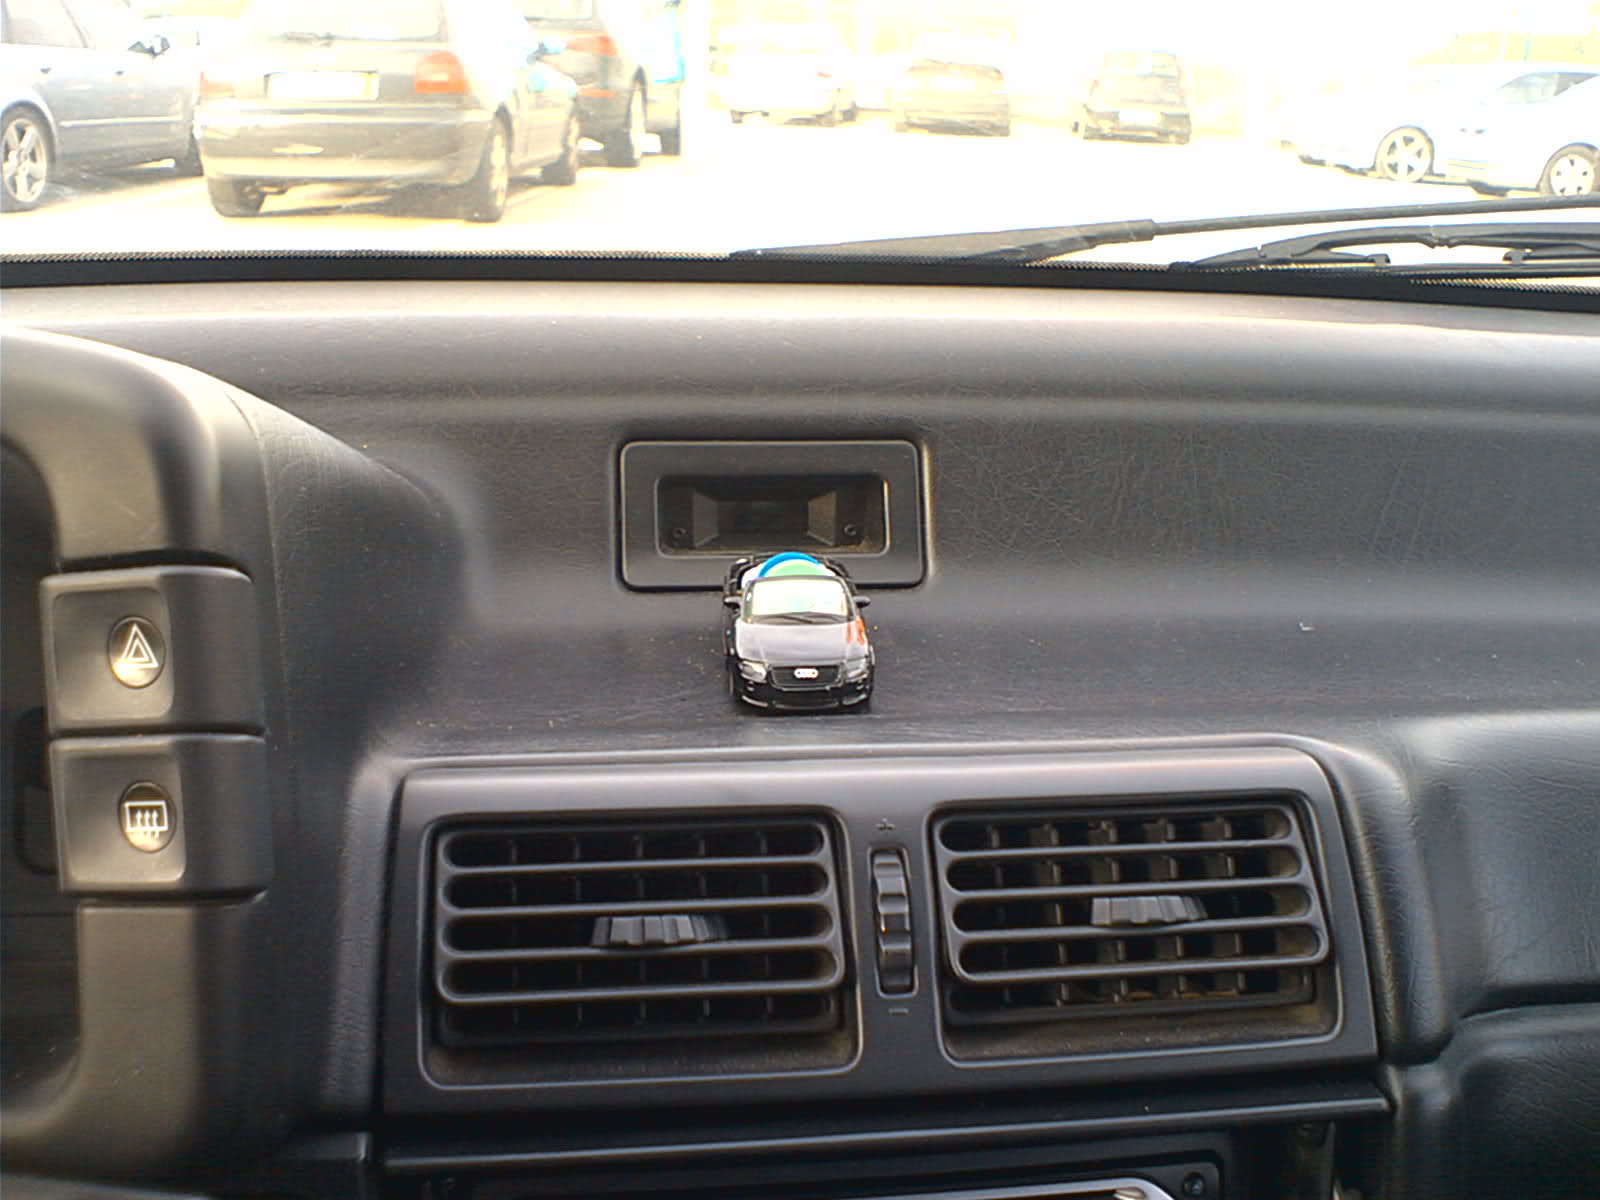
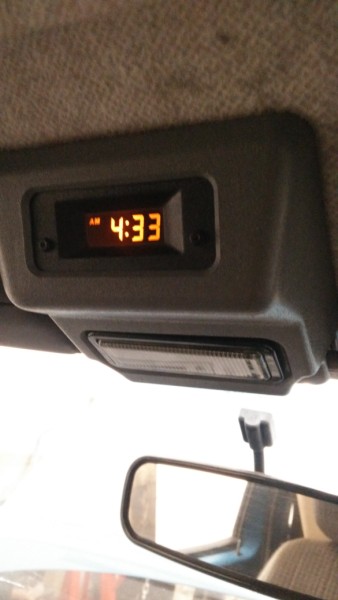
Pino AX 10E:
Writing of this DIY guide takes longer than doing it
If you have any questions just leave a reaction I will do my best to help