I thought I would post up a 'How To' on replacing the C5 X7
Pollen Filter and Cleaning the Air Con / Air System, specifically for the Right Hand Drive model, as the very few You Tube videos on this are for Left Had Drive vehicles and are are generally not in English. Citroen Service docs don't really help much either as they show the process for a Left Hand Drive model with pedals and different trim, as of course the heater components remain in the same place.
What You Will Need:
A Torx 20 Screwdriver
A Small Flat Blade Screwdriver
A Pollen Filter (Part 6479 45)
An Air Con Bomb or Similar (only if you are cleaning the A/C system)
A Bright Torch
A Hoover
A Hot Bath Afterwards  Click to zoom the pictures up
First of all there are 2 plastic screws under the passenger side glove box at the front that need to be turned 90°.
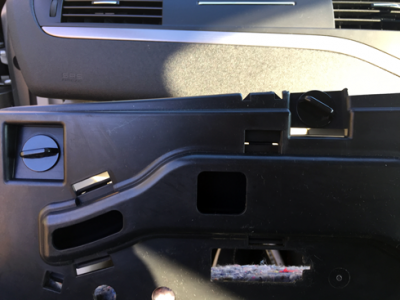 - A - Trim Screws Close Up
|
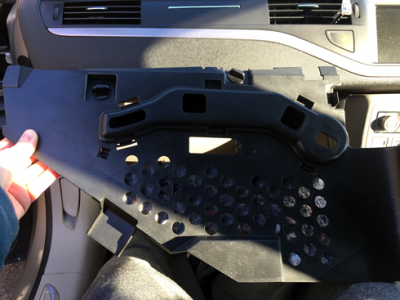 - B - Unfastening the Passenger Trim
|
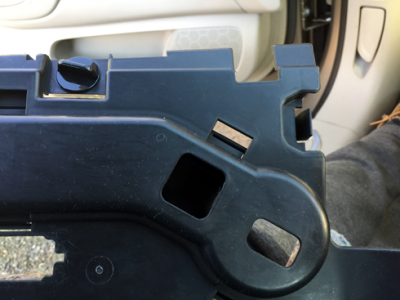 - C - Trim Clip shown to the Right
|
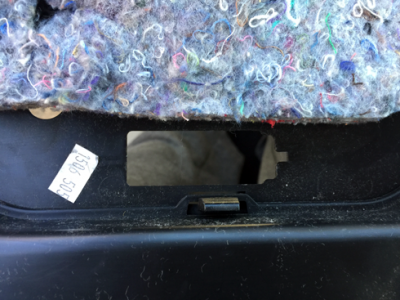 - E - Lever Out the Footwell Light
|
| On the right edge of the trim, you will see a snap connector - push this in and the trim will loosen. Be careful as the footwell passenger light (if fitted) will be attached. | Using the Flat Head screwdriver, gently push in the small plastic lug of the Footwell Light and lever it out so that you can access the plug. |
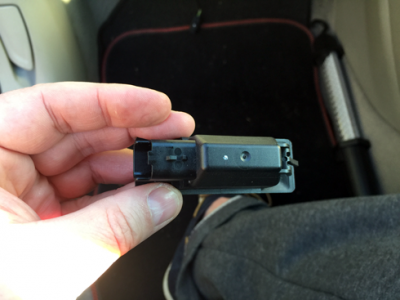 - F - Unclip the Plug
|
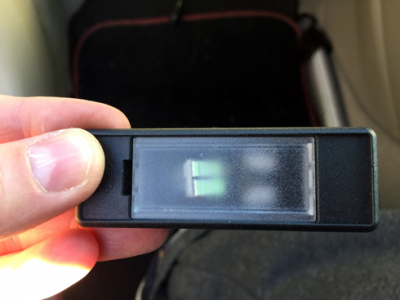 - G My LED Replacement!
|
| Disconnect the plug by pushing in the lug and pulling. | A good time to check / upgrade your bulbs |
 - D - Underside of the removed Trim
|
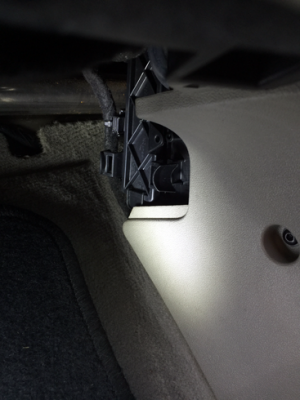 - H - Pollen Filter Clip
|
| Carefully remove to one side | With the top trim removed, you can now see the Pollen Filter cover through the exposed recess. |
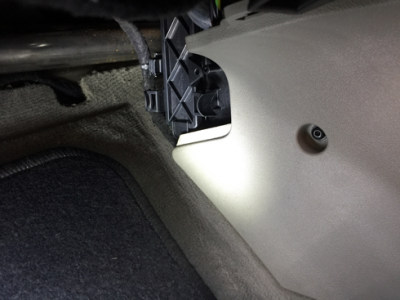 - H2 - Use Torx 20 to Remove Side Trim
|
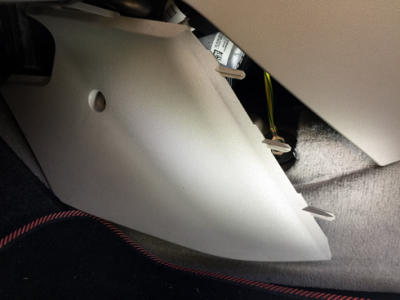 - I - Remove Screw and Slide Forward
|
| We will need to remove the right hand side trim to get further access. Undo the Torx screw. | With the screw removed, gently slide the side trim forwards. There are 3 locating pins. |
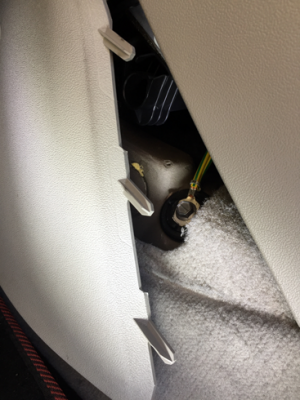 - I2 - Locating Pins Exposed
|
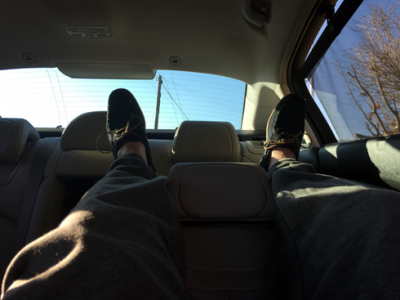 - I3 - I Kid You Not!
|
| Locating Pins: | Now Assume the Position! |
 - J1 - Pollen Cover Off
|
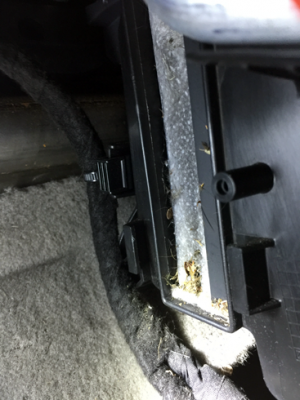 - J2 - Crud Alert!
|
| VERY GENTLY pinch together the bottom 2 lugs to release the Pollen filter Cover. Once disengaged the cover will easily pull away. | Note: There are 2 holes on the cover that are to allow the cover to be screwed back into place if you inadvertently break the lugs off  Now, get your torch in place and gently pull the filter out - be warned there will be a load of crud and bugs flying out as the old filter springs out. Now, get your torch in place and gently pull the filter out - be warned there will be a load of crud and bugs flying out as the old filter springs out. |
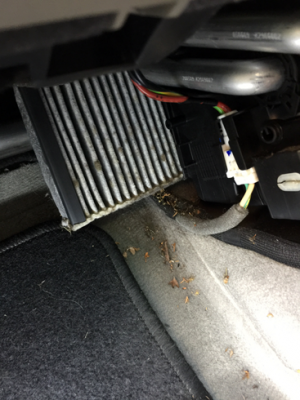 - J3 - More Crud
|
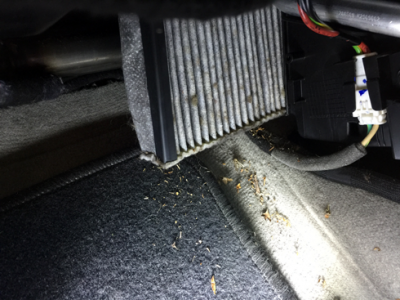 - J4 - Ease Out Filter
|
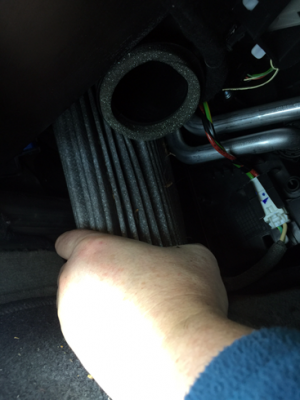 - J6 - Wrap and Pull
|
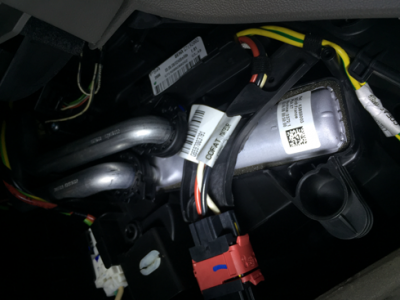 - J7 - Heater Matrix
|
| As You pull out the filter, try and roll it, whilst pulling gently as there isn't a lot of room to pull it out directly. | Whilst we are here - this is the Heater Matrix Location! |
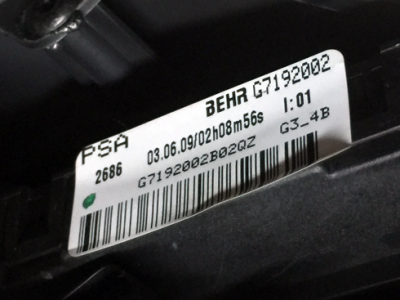 - J8 - Heating Resistance
|
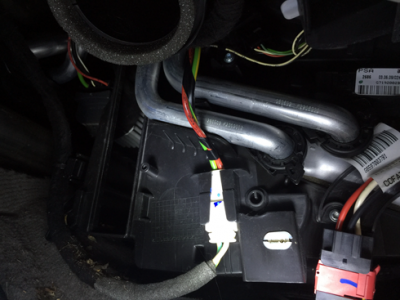 - J10 - HMCU Seen Via Pollen Filt Recess
|
| ... and the Heating Resistance unit - hmm, 2 Hours, 8 Minutes and 56 seconds on the label ??? - G7192002 is definitely the Heater resistance. perhaps that is the date and time is was made - how precise! | And while we are still here, this is the Heater Motor Control Unit that you can just see up through the Pollen Filter housing.
|
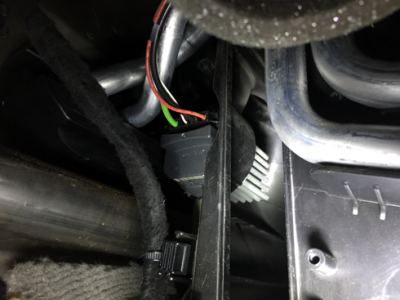 - J9 - Heater Motor Control Unit
|
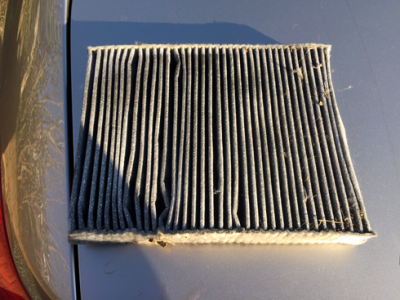 - K1 - Old Filter Yuk
|
| A better close up: | Back to the job at hand - here's the grotty filter in all it's glory: |
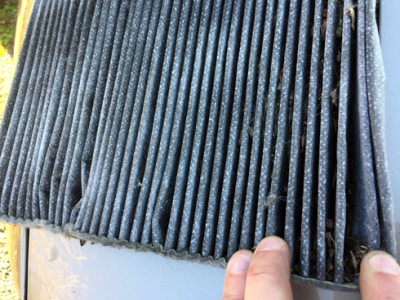 - K2 - Gross Filter Crud
|
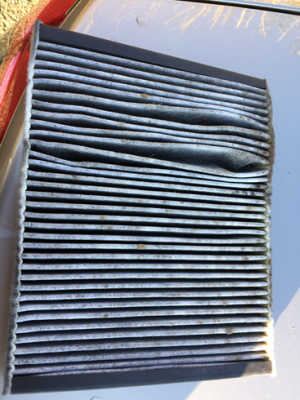 - K3 - No Way this Was Changed Last Service
|
| This is what you're breathing in | Do I believe Citroen changed this last service... I don't think so  |
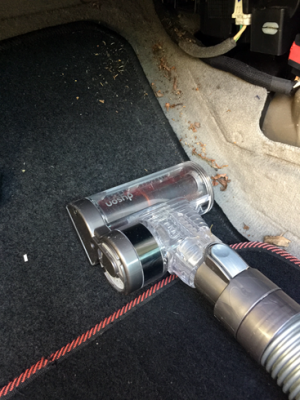 - K4 - Time For The Cavalry
|
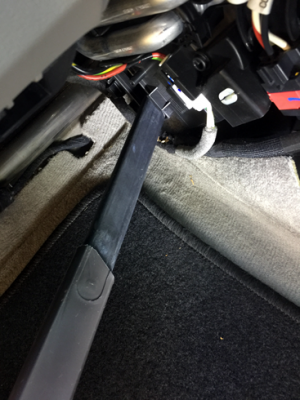 - K5 - Dyson With Car Kit
|
| Out with the big guns - time to hoover out all the rubbish. | 'Bugs be Gone' - This flexible crevice tool is great for getting in at angles. |
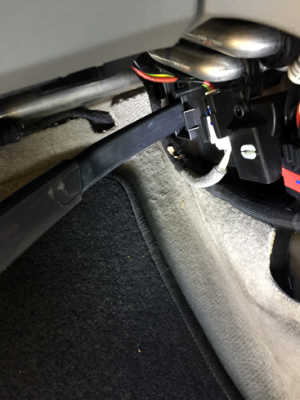 - K6 - Dyson Bendy Pipe
|
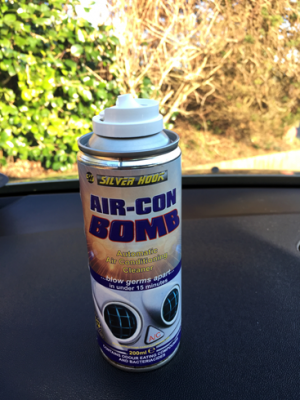 - L - Air Con Bomb Time
|
| We bought the car kit with our Dyson Animal - it has a bendy crevice tool - great for getting into the recess at an angle. | Now for the Air System Clean (whilst the filter is out) |
Read the instructions carefully, as you don't want to be in the car when this goes off. These all work similarly, but basically, move all seats forward and tilted towards the front of the cabin.

- L1 - Move Seats Forward
- Close all windows and doors. Start the engine and use the following settings:
- All Air vents Open
- Ensure Air Distribution is Generalised throughout the car
- Fan Speed Full
- Set Temperature to coolest Level
- Air Con On
- Switch to RECYCLED AIR Mode
- Place the Air Con Bomb in the Rear compartment on the floor in the middle. DO NOT activate it with your face looking down at it - Activate it from the side, then leg it and close the door.
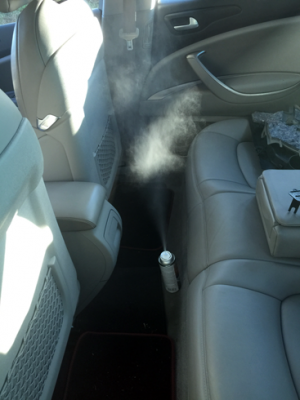 - L2 - Nuking the Cabin
|
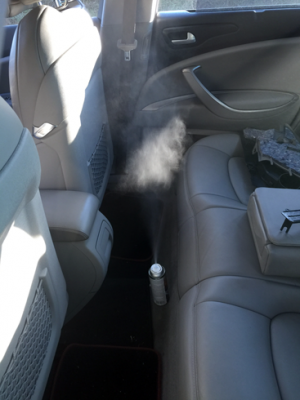 - L3 - 5 Minutes Later
|
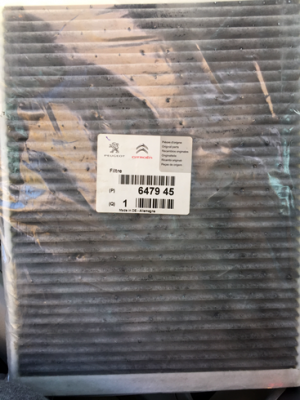 - M - The New Filter
|
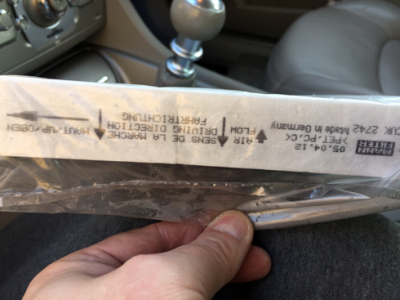 - M1 - Read Notes
|
Wait until the Bomb has fully discharged itself, then wait another 5-10 minutes before opening the doors.
Enter the car and switch off the engine. Put the seats back and the passenger seat down to help with the acrobatics necessary to get the new filter in. | Look at the notes or instruction either printed on the filter or on the instructions - the filter is designed to operate only one way and should be positioned so that the air flows correctly from the front of the car to the back of the car in the direction of the air flow as per the arrows: |

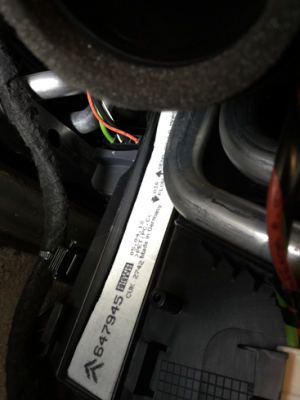 - M4 - New Filter In
|
| Get your torch again, and with the filter in the correct position, you will need to flex it gently, angle it in through the top, then at the bottom, wiggling it up and down as you gently push it in. Just keep using your fingers to push at the top and bottom equally until it goes in. Once in, pull it out slightly and give it a wiggle to help ensure that the concertina has expanded and that the filter is fully in position. |
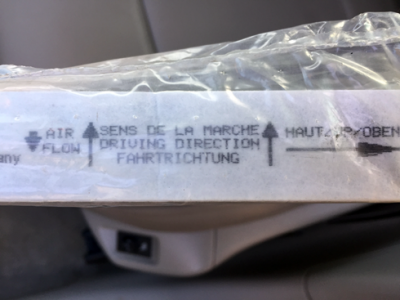 - M3 - Direction Important
|
| Arrows indicate Air Flow and Driving Direction on some filters. |
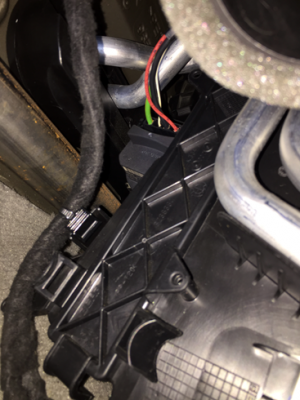 - M5- Cover Back On
|
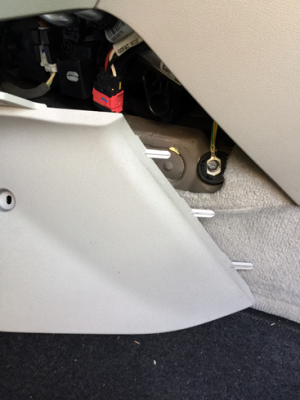 - M6 - Slide Pins in First
|
| Place your cover back on, and gently squeeze the clips, position the cover and release the clips. If you have broken these - you will need to use a couple of small screws to secure it back on. | Slide your trim back on front to rear, ensuring the 3 pins locate properly, then screw back up once in position. |
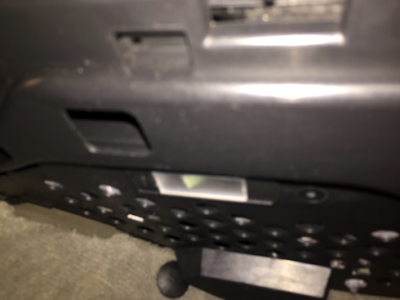 - M7 - Re-attach Light and Trim
|
| Next thread the wiring plug back through the top trim, re-attach the Footwell Light and snap into place, position trim, click the snap connector into position and do up the trim screws. |
Job Done
Bath!
I can't really put a time on the job as I was taking pictures and had to wait for the chemicals to dissipate, but if I was doing the
filter only, I would say about 30 minutes at least. Most of that is getting the old
filter out, cleaning up and putting the new one back in.
